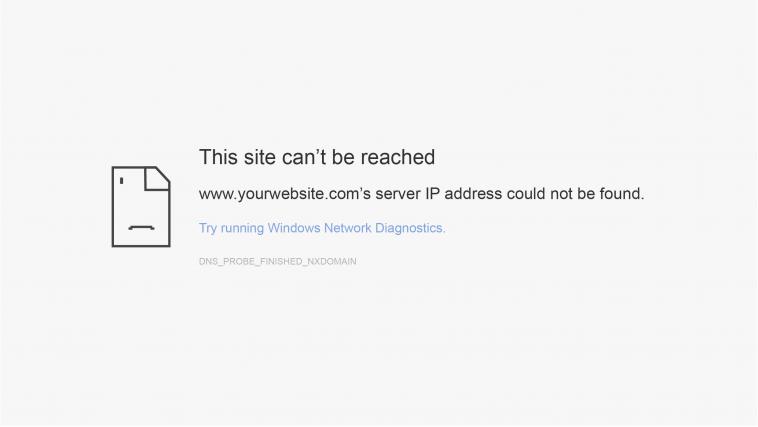
Getting the Server IP Address could not be found error is one of the most annoying thing you would see when trying to visit a website. This problem often occurs in the Google Chrome web browser and it is related with DNS server settings.
The error might occur as a result of different reasons and also, the fixes works differently for different people.
When you open a web browser and launch a website, the browser contacts a DNS (Domain Name Server). This server then resolves the name of the website (www.yourdomain.com) to an IP address. Sometimes this DNS lookup fails and as a result browser fails to find the server where the requested website is located. In such cases, Google Chrome throws an error that reads like “Error 105 (net::ERR_NAME_NOT_RESOLVED): The server could not be found”. In this article explains differents steps on how to get the Server IP Address could not be found error fixed.
How To Fix “Server IP Address could Not Be Found”
Fix 1. Flush DNS
You can flush computer’s DNS by issuing simple commands given below:
Hit the start button and and type cmd in the Search box. Then press Enter key.
A black colored command prompt window will open. Type ipconfig/flushdns and press enter key
Fix 2. Change your DNS Servers
Change your internet’s DNS to use Google DNS Servers as they are very fast and reliable. Here are the steps to change your DNS server to Google:
For changing IP addresses of DNS servers:
- Go to Control Panel and click on Network and Sharing Center
- Click on the Internet connection that you’re using
- Open Properties of your Internet connection
- Double click on the Internet Protocol Version 4 (as shown in the above image)
- A new box will open. Enter 8.8.8.8 as the Preferred DNS Server
- Enter 8.8.4.4 as the Alternate DNS Server
- Check the Validate settings upon exit option
- Click OK to save the settings
Now you should restart your computer. This should solve the problem. If you still have the issue or any other fis, please hit me up in the comment section below.
----------
If you liked this article, please subscribe to our YouTube Channel for tech news, reviews and video tutorials. You can also find us on Twitter, Instagram and Facebook.


Very Frustrated. Have tried all the fixes, and some sites will just not come up, and return the “www.schwab.com’s server IP address could not be found.” error message. Others come up just fine, very quickly and operate fine. Like Google search. yahoo.com, MarketWatch.com, Facebook, etc.
I’ve tried all the recommended fixes, including DNS flush, change IP to 888 8844. etc. Then restarting computer. Nothing seems to have any effect
Sorry about that. Did you try visiting from another device?
I’ve tried all the fixes and nothing works. I have a brand new HP envy laptop that’s 1 month old. The only difference between now and a few hours ago (when all of the sites worked fine) is that my trial version of McAfee expired and I did not renew. I have restarted, removed McAfee completely in case the expired software was causing a problem, restarted again and again and I still can’t access sites like craigslist or my webmail through bluehost. I can access all sites through my phone and other devices, but not my brand new laptop that was working fine just hours prior.
I tried Fix 2 and it worked. Thank you very much for your help.
Hi, novice UK user on W10…suddenly my desktop is coming up with ‘NO IP ADDRESS FOUND’ when I go onto my regular sites such as Amazon uk or Ancestry…I have tried all the suggestions made to me and its still happening…can you help please…many thanks
Try clearing your browser cache, and the restart your PC.
thank you so much for the help I have been trying for 5 days but this solved the problem.
Thank you.Fix 2 helped me.Great work!
Good
i dont get it
I can’t go on the site EVEN after i followed all the steps.
Hello! So, I tried everything you said, but now it`s showing “(the website) is unreachable“. Could you please help me on this? Thank you very much.
Are you still having issues with this?