![]()
Google recently announced a new IDE for Android called Android Studio. It’s free and can be downloaded from over here.
Android Studio is a new Android development environment based on IntelliJ IDEA. It is similar to Eclipse with the ADT Plugin and provides tools for development and debugging.
As the Android Studio is available currently as an early access preview there are several features that are not yet implemented and you may encounter bugs when you are trying it out for yourself.
Android Studio provides the follow advantages:
- Gradle-based build support.
- Android-specific refactoring and quick fixes.
- Lint tools to catch performance, usability, version compatibility and other problems.
- ProGuard and app-signing capabilities.
- You can create common Android designs and components using Template-based wizards.
- A Rich layout editor that allows you to drag-and-drop UI components.
- Preview layouts on multiple screen configurations.
Many other things are in Android Studio that is handy when we actually work on the Studio.
Let’s get started
Step 1: Launch the Android Studio setup file.

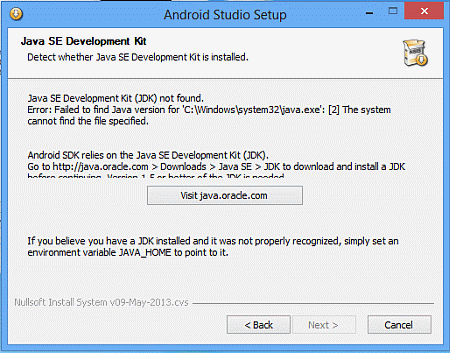
If you get this, don’t worry just a platform requirement you need to install the Java JDK first to install Android Studio and if you think that you have already installed the JDK then you need to set the environment variable for Java. Use the following procedure to do that.
Set the Environment Variable
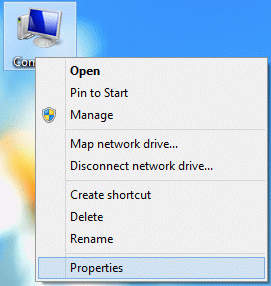
Step 1: Go to My Computer then right-click on it and choose “Properties”
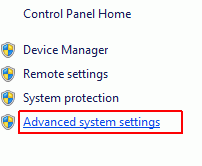
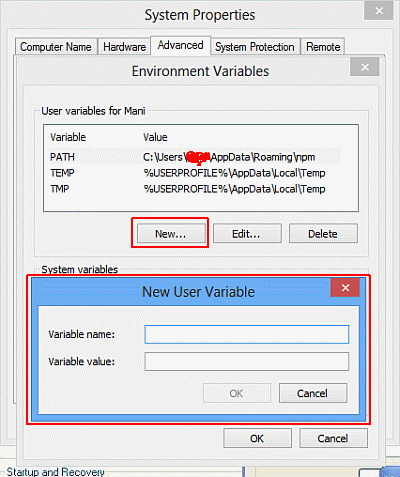
Step 2: Go to the Advanced system settings, a System Properties windows will open then click on the “Environment Variables” button.
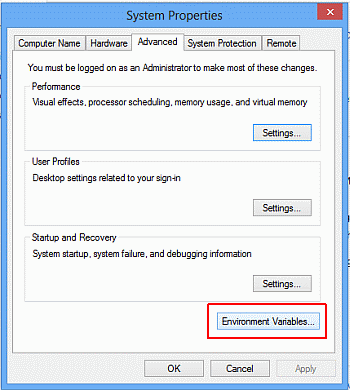
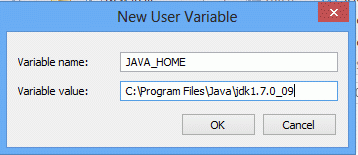
Step 3: Click on the New button and enter the path for Java home in the pop-up window as below:
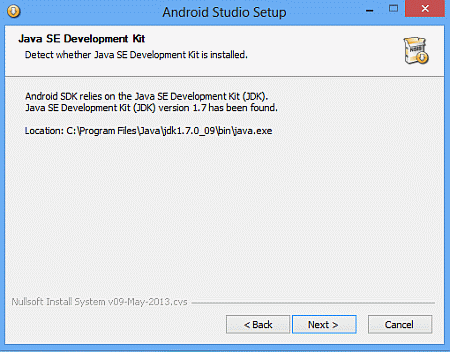
Step 4: Now again run the Android Studio setup file. If you have already set your Java home path then the Java JDK requirement message will not be shown as I described above, the step will continue normally as in the following.
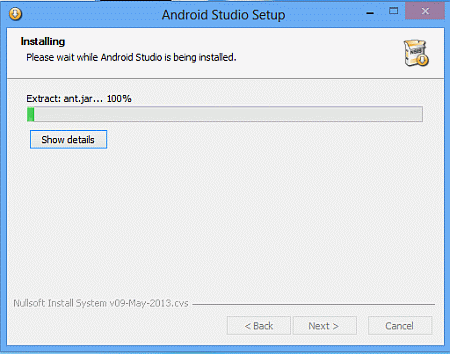
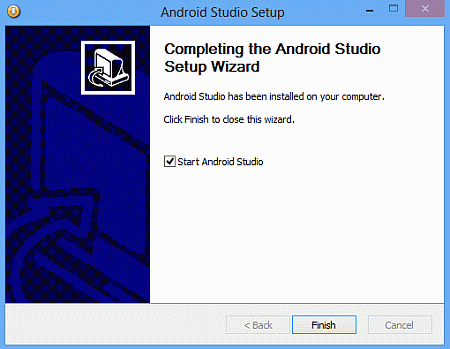
Step 5: Follow the instructions and continue with the setup; the completion wizard will finally be shown, then click on “Finish”.
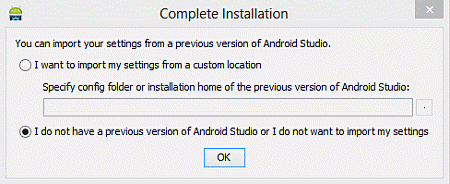
Step 6: Then the setup will ask you to import previous settings if you have some then import then, otherwise go with a new installation.
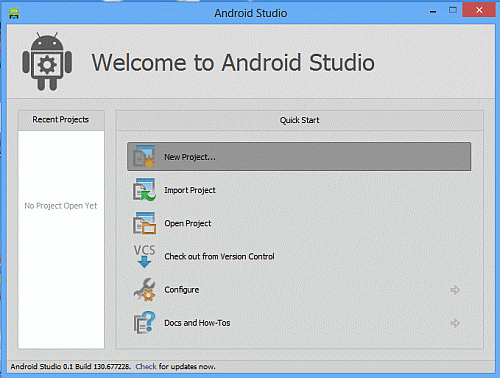
That’s it..You can start developing your android apps.
----------
If you liked this article, please subscribe to our YouTube Channel for tech news, reviews and video tutorials. You can also find us on Twitter, Instagram and Facebook.