The last tutorial I wrote was back in January, it’s been quite a long time and boy I missed it. I have been trying to organize myself to start playing more with not only Photoshop and Illustrator but also Sketch and other tools so I can share some new things with you. It’s always a challenge due to my day to day job but it makes me feel so good when I finish something that went from my head to the final design in a very short period of time. Quite refreshing. So this week I will share a tutorial on an image I created inspired by some similar artworks I saw on Pinterest. The tools I used were Illustrator for the basic vectors and Photoshop for the final details and shadows.
Step 1
Open Illustrator and create a new document. After that with the Line Segment Tool create 2 lines like the image below. The rectangle size is for a 2880×1800 resolution.
Step 2
Select the Blend Tool and create a blend object by tapping on both segments. After that double click on the Blend Tool icon to open the Blend Options dialog box. Change the Spacing to Specified Distance and use 30 pixels for it.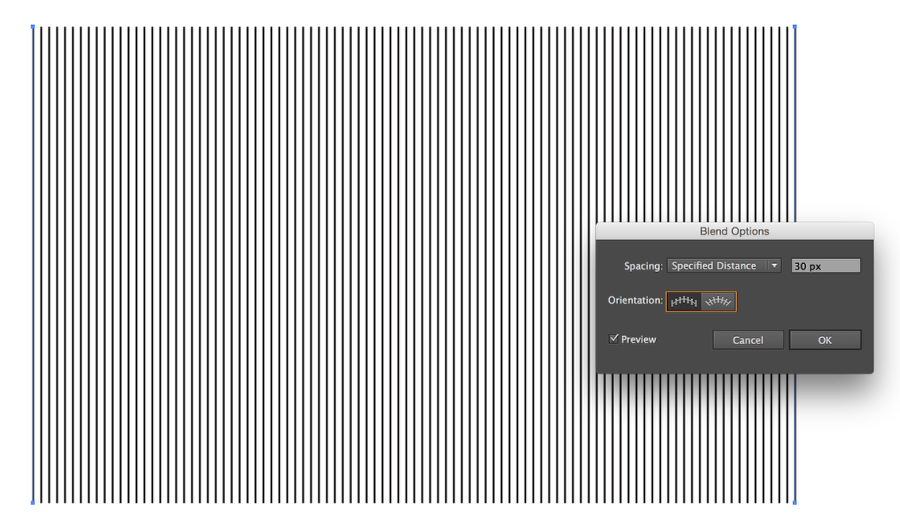
Step 3
With the Pen Tool (P) create the shape you want to pop from the lines. I am using the Abduzeedo symbol.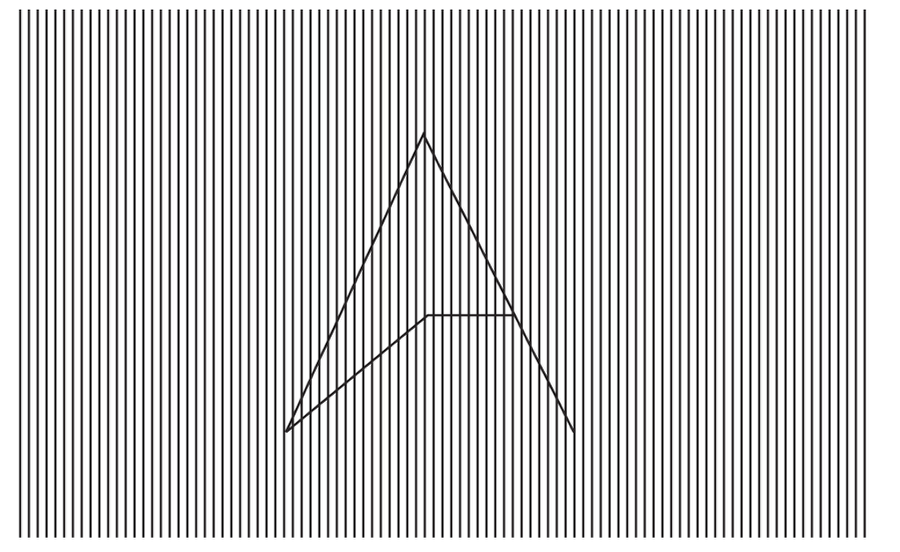
Step 4
After creating the shape you want duplicate it 3 or 4 times to make the symbol spread to more lines, like outer stroke. Also you will have to create a shape with the color of the background to hide the lines that go under the symbol.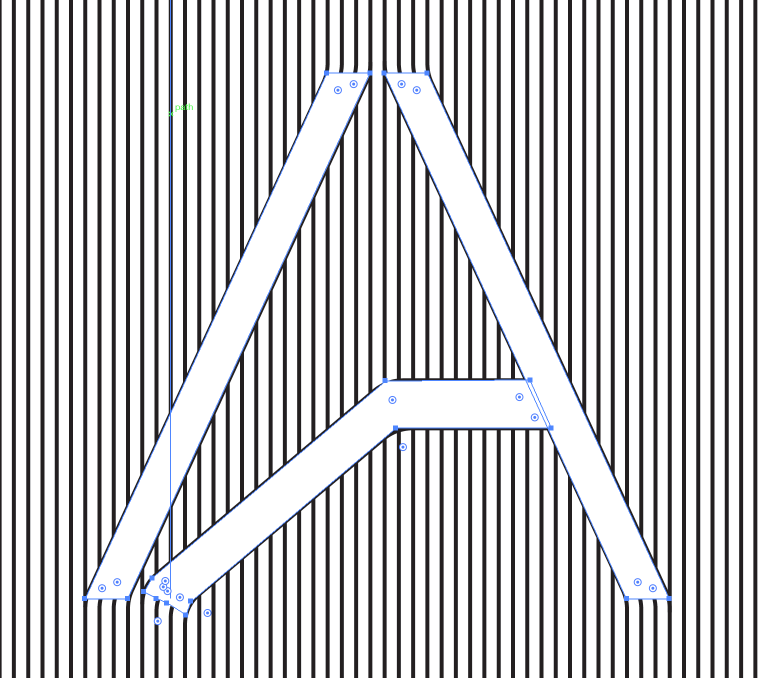
Step 5
After that with the Pen Tool and the Direct Selection Tool make sure to connect the new lines with the ones that they should diverge from.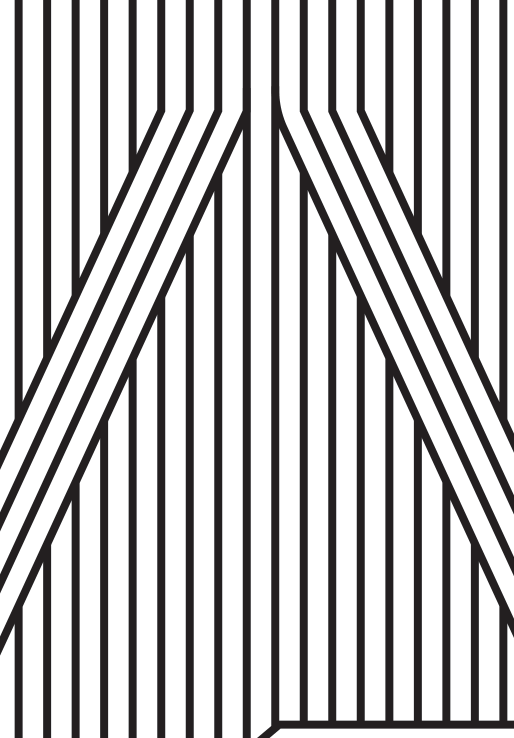
Step 6
Select the points that the lines connect and then change the corner option. I am using90 pixels for the roundness.
Step 7
Change the colors to the ones you prefer. I am using a dark grey and teal color. I like the dark themes, this one heavily inspired by Google Material Design.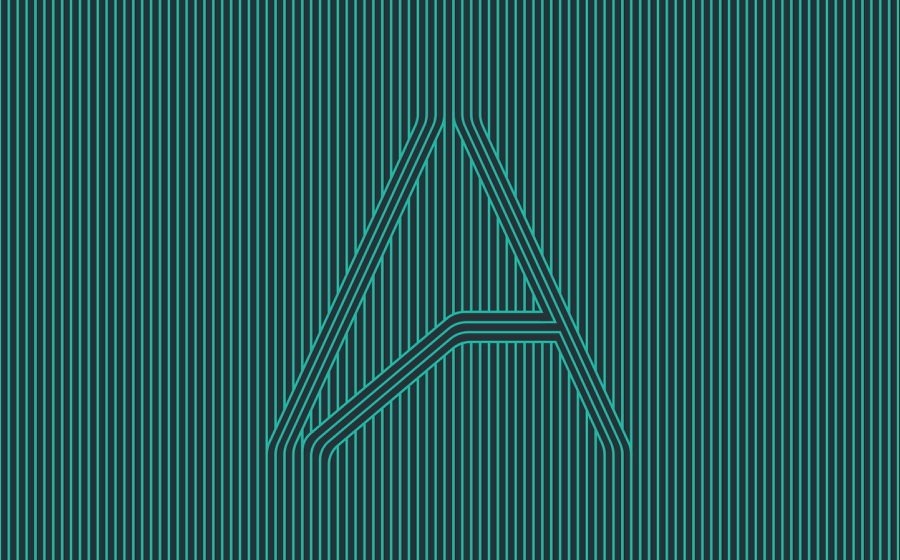
Step 8
With the Polygonal Lasso Tool select the symbol and create a new layer from it(Layer>New>Layer from Copy). After that go Layer>Layer Style>Drop Shadow.
Step 9
For the shadow options I used Multiply for the Blend Mode, 120º angle, 20 pixels Distance, 40 pixels Size and the most important, 25% Noise. The noise is really cool because it adds some nice texture to a rather uniform vector illustration.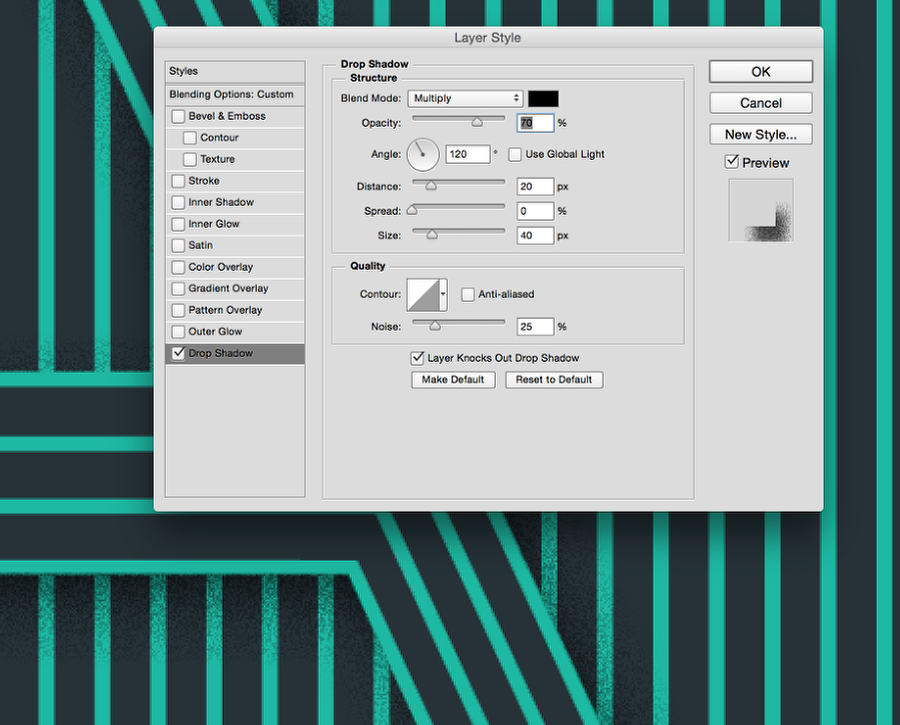
Step 10
Group the layer and then apply a mask to hide the areas selected below. That way the shadow will give the perception that the lines are going over or popping from the rest of the composition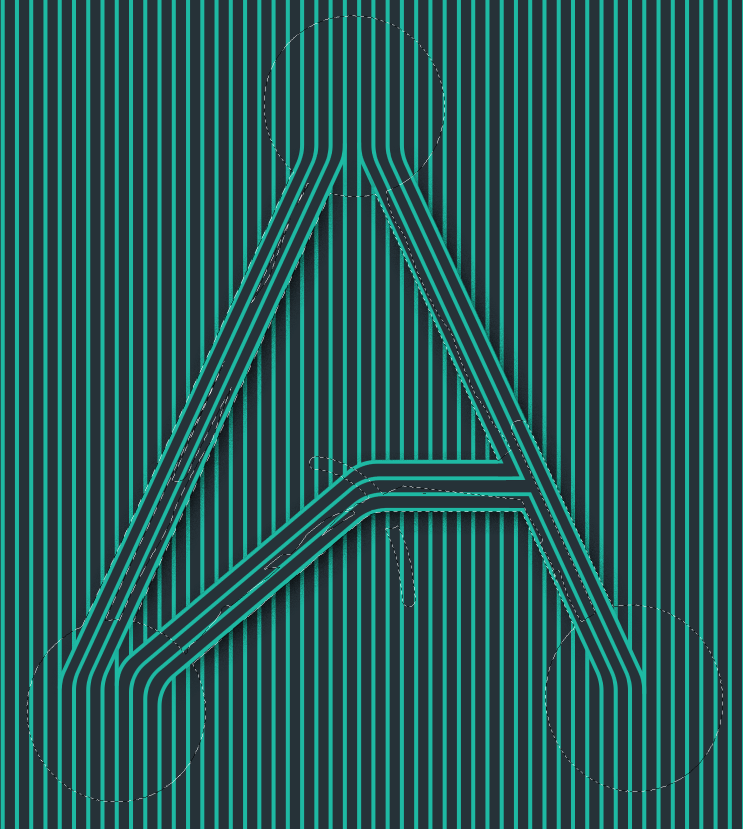
Conclusion
You can also add some vignette and more textures if you want. For me it’s pretty much done. I could go over some details that still bother me a little bit like some of the lines in the middle of my symbol. But that is beyond my little thought/practice exercise. I hope that is useful for you and you can play with that on your own ideas.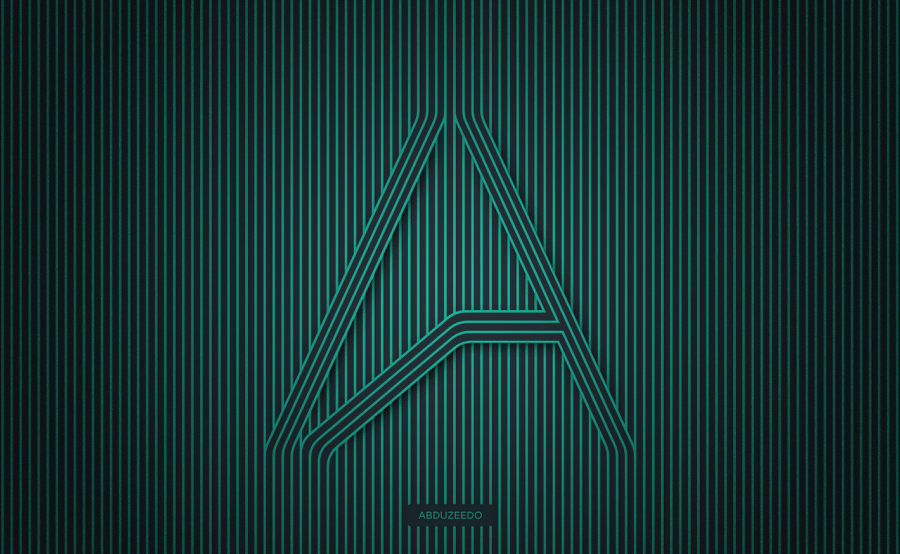
----------
If you liked this article, please subscribe to our YouTube Channel for tech news, reviews and video tutorials. You can also find us on Twitter, Instagram and Facebook.